In this post, we’ll cover everything from how to paint popcorn ceilings to why you might consider painting them, and why outsourcing the task will get you the best results.
The ‘80s called. They don’t want their popcorn ceilings back, but they do recommend touching them up with a fresh coat of paint.
Sometimes, it’s good to hang onto a little character in your home to keep things cozy, and while removing or covering your popcorn ceiling is always an option, properly painting over the texture is far more cost-effective and in some cases, much safer.
Table of Contents
What Are Popcorn Ceilings?
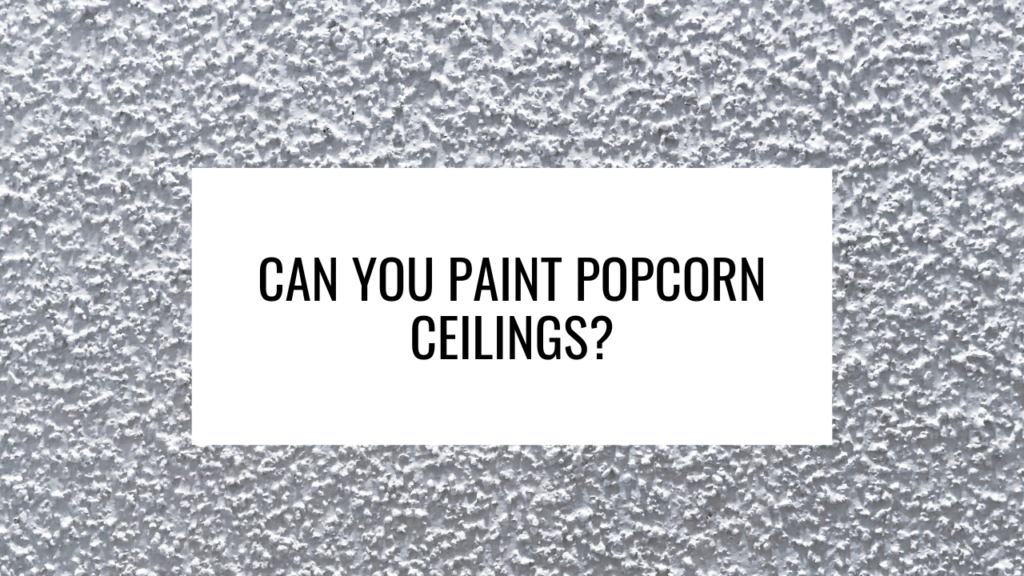
Popcorn ceilings – also known as textured, acoustic, or stucco – rose to fame in the 1950s and stuck around until the 1980s. They were used as a spray-on textured tactic to hide imperfections, help protect against fires, and soundproof homes.
Still, it’s no secret that popcorn ceilings can accumulate dust, grime, and allergens, so some maintenance here and there might be required to keep your space looking its best.
Why You Might Consider Painting Your Popcorn Ceiling
When renovating, it’s tempting to update everything you can, but updates often come with hefty price tags. When you choose to paint popcorn ceilings over scraping them off or covering them up, you’re opting for the most budget-conscious option.
To provide even more context as to why you might consider painting your popcorn ceiling, we’ve created this pro-popcorn-ceiling list that also compares opposing enhancement methods:
- Prevalent Benefits of Popcorn Ceilings
While the design might be dated, the function is timeless. Popcorn ceilings can still conceal most blemishes that will inevitably show up in your home. Plus, since they’re made for muffling out the noise between floors, they’re great for shared spaces. Not to mention, they improve the acoustics in large rooms with high ceilings.
Therefore, keeping your popcorn ceiling intact and simply sprucing it up every now and then with a fresh coat of paint is a smart option. Really, if the ceiling is in safe and good condition, there’s no reason to throw it away. Why adhere to every trend when they’re constantly changing?
- Scraping is Expensive
Your first instinct might be to scrape your popcorn ceiling away completely, exposing a flatter, more modern look. We understand why this seems like a great solution, especially since we’re all constantly being bombarded with the latest trends in home décor, but it’s important to understand the practicality of this option.
To start, removing your popcorn ceiling with warm water and a scraper is a lot of work and quite messy. Secondly, depending on the project, you could pay a couple of thousands of dollars for removal services.
That said, prior to the 1980s, a lot of popcorn ceilings were concocted using asbestos – a toxic material that can cause respiratory diseases – to increase the ceiling’s strength and heat resistance. Asbestos is worse when it’s airborne, which usually happens when it’s improperly tampered with. Since asbestos wasn’t deemed harmful until the late seventies, many older homes with popcorn ceilings are at risk of containing these hazardous fibers. This is where scraping can compromise safety, and you’ll want to have your popcorn ceiling professionally tested before disturbing it in any way. Testing can ultimately increase the cost of the task, especially if asbestos is present.
- Covering Has Its Own Complexities
Okay, so you’re unsure about showing off your popcorn ceiling, but you’re also hesitant to remove it altogether. So, why not cover it?
While covering your popcorn ceiling with materials like drywall or wooden planks is absolutely an option, this method can also be more costly, time-consuming, and it’ll tack on extra weight. Additionally, this added layer will ultimately lower your ceiling, which might not be ideal for some customers.
Our team specializes in painting and refinishing popcorn ceilings. Call now to learn more about how we can help.
How To Paint Popcorn Ceilings
Now that we’ve explored the benefits of keeping your popcorn ceiling and the cons of alternative options, it’s time to break down the process of how to paint popcorn ceilings.
Test For Asbestos
As previously mentioned, popcorn ceilings in older homes run the risk of asbestos. To rule out any hazards, you’ll want to hire a professional to test for asbestos before getting to work. Luckily, tests are fairly affordable and can be completed in a couple of days.
If your popcorn ceiling tests positive for asbestos, that doesn’t necessarily mean you won’t be able to paint it, it just means extra caution will need to be taken.
Keep It Clean
Since this type of texture is notorious for hanging onto dust and grime, once you’ve verified that it’s safe to do so, go ahead and clean your popcorn ceiling. A thorough clean can be completed with the brush attachment on a shop vacuum or a simple duster to gently remove any unwanted debris.
Protect The Rest of The Room
As with any messy project, you’ll want to take protective measures to avoid spilling paint on your floors, furniture, or light fixtures.
If possible, clear the room. Anything that cannot be moved must be covered with plastic sheets or painter’s tape.
Cut In The Ceiling
Around the perimeter of the room, where the ceiling connects with the wall, it’s essential to cut in (meaning manually paint) about two inches with a paintbrush to establish a border – follow the same process around light fixtures and smoke detectors. Applying painter’s tape to the walls will also make for clean lines and will catch any wayward paint splatters.
Prepare To Paint
Typically, the ideal paint for a popcorn ceiling (or most ceilings for that matter) are types with a flat or matte finish. Specifically, select an interior acrylic-latex paint.
The paint must be applied in one direction, either by using a ladder and a roller or a roller attached to a painter’s pole. The first coat should also be applied in a thin, even layer to avoid any flaking.
Once the first coat has been completed, it’s best to wait at least two hours before applying a second layer. The next layer should be rolled on in the opposite direction. After that, check for any areas that need a touch-up.
Ready to update your popcorn ceiling? Contact us today for a free consultation and quote!
Why You Should Hire a Professional
As you’ve probably gathered, painting a popcorn ceiling is quite the process, one that might be best left to the professionals. These experts can properly handle any prep work and will ensure that the project is completed safely and successfully.
If you’re looking to elevate your popcorn ceiling, our certified painters are up to the task – you bring us the business, and we’ll bring our brushes. Contact us today for a price and project breakdown.
Conclusion: Can you Paint Popcorn Ceilings?
You never know what past trends could come back in style. Stay ahead of the curve and keep your popcorn ceiling for its character, flaw-concealing texture, and soundproofing perks. To optimize its appearance, contact Sarson Painting to request a quote on your next coat of paint.


