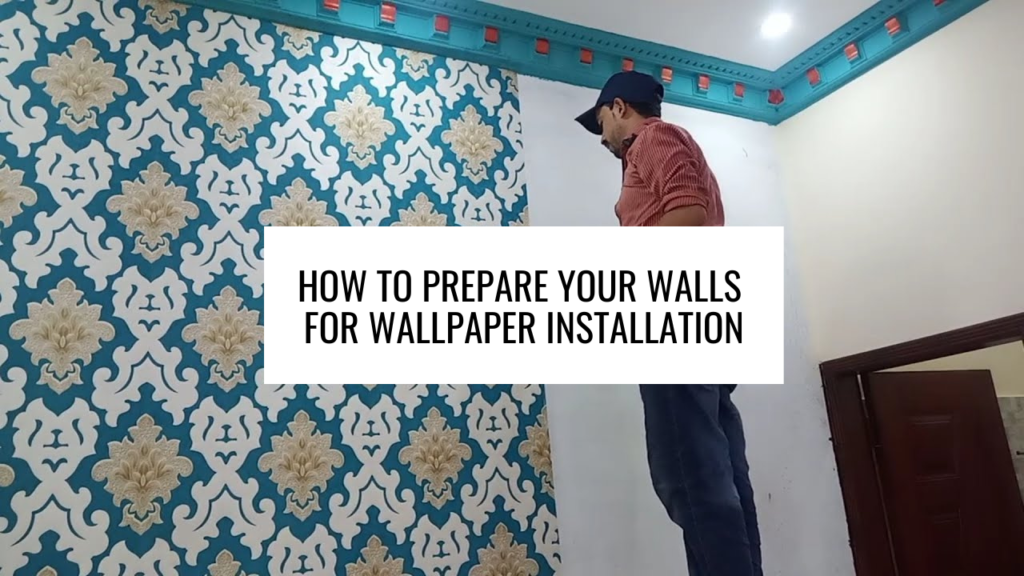
When it comes to giving your Toronto home a fresh and stylish look, wallpaper can be a game-changer. It’s an excellent way to add texture, color, and personality to your space. However, before you dive into the exciting world of wallpaper, it’s crucial to properly prepare your walls. Proper wall preparation is the key to achieving a flawless and long-lasting result. Here’s a step-by-step guide on how to prepare your walls for wallpaper installation in Toronto.
Clean the Walls:
Start by cleaning the walls thoroughly. Remove any dust, dirt, or grease using a gentle detergent solution and a clean sponge. This step ensures that the wallpaper adhesive will adhere properly to the surface, creating a smooth and even application.
Repair Imperfections:
Inspect your walls for any cracks, holes, or dents. Use a spackling compound to fill in these imperfections. Once the compound is dry, sand the area gently until it’s smooth and flush with the rest of the wall. This step is crucial for achieving a flawless finish.
Remove Old Wallpaper:
If there’s existing wallpaper on your walls, it’s essential to remove it before installing the new one. Use a wallpaper scraper and a mixture of water and vinegar to help loosen the old adhesive. Once the old wallpaper is removed, follow the cleaning and repair steps mentioned above.
Sand the Walls:
To ensure a uniform surface for your wallpaper, lightly sand the walls using a fine-grit sandpaper. This step helps to smooth out any remaining imperfections and provides a slightly textured surface that the wallpaper can adhere to.
Prime the Walls:
Applying a primer is a critical step that’s often overlooked. A good quality primer creates a smooth and consistent base for the wallpaper adhesive, allowing it to bond securely to the wall. Choose a primer that is compatible with both your walls and the type of wallpaper you’re using.
Measure and Mark:
Before you start hanging the wallpaper, measure the height of your walls and the width of your wallpaper rolls. Mark a straight vertical line using a plumb line or a level and pencil. This line will serve as your guide for aligning the first strip of wallpaper.
Cut the Wallpaper:
Carefully cut the wallpaper into strips, leaving a few inches of extra length at the top and bottom. This extra length will allow you to make adjustments during installation and ensure a precise fit.
Apply the Adhesive:
Depending on the type of wallpaper you’re using, follow the manufacturer’s instructions for preparing the adhesive. Apply the adhesive evenly to the back of the wallpaper using a roller or a brush. Be sure to work quickly, as some adhesives can dry fast.
Hang the Wallpaper:
Align the top of the wallpaper strip with the marked vertical line and gently press it onto the wall. Smooth out any air bubbles or wrinkles using a wallpaper brush or a soft cloth. Continue hanging the strips, aligning the patterns carefully for a seamless look.
Trim Excess Wallpaper: How to Prepare Your Walls for Wallpaper Installation
Once the wallpaper is hung, use a sharp utility knife and a straightedge to trim the excess along the top and bottom edges.
By following these steps, you’ll be well-prepared to tackle your wallpaper installation project in Toronto. Proper wall preparation ensures that your wallpaper not only looks fantastic but also stands the test of time. Whether you’re aiming for a chic urban vibe or a cozy cottage feel, the right wallpaper, combined with meticulous preparation, will transform your space into a work of art. For help, ask professional painters such as Sarson Painting.